Featured Project · 3D Printing
The Ultimate 3D Printer Dry Box
Wet filament is the silent killer of print quality — moisture turns into steam inside your hotend, causing bubbles, stringing, and weak layers. This super-practical, affordable dry box fixes that for good. Built from an airtight cereal box with a smart snap-fit insert: no screws, no glue, just satisfying clicks.
Watch the full build on YouTube → youtu.be/teQsyqK07QE
Why You Need This
Snap together in minutes. Print directly from the box.
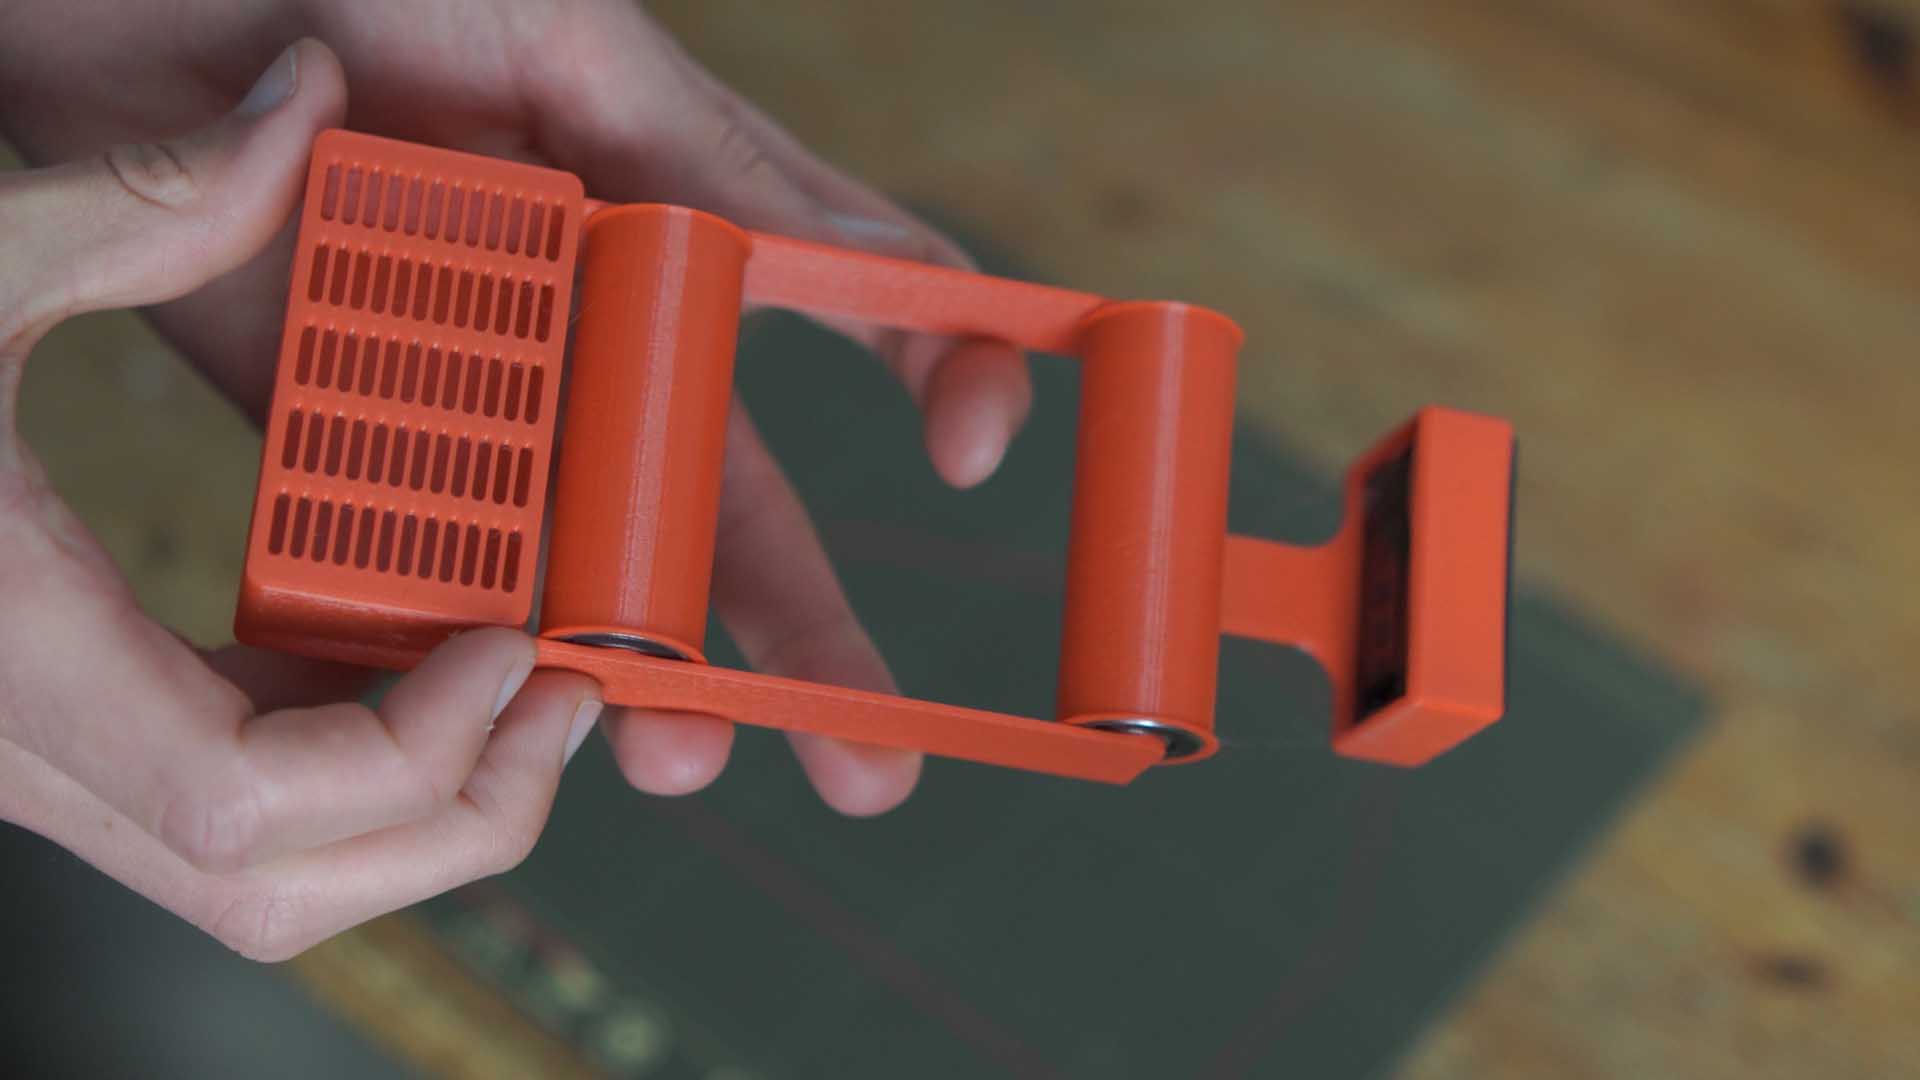
The whole assembly is designed around one key idea: everything just snaps together. The hygrometer clicks into its mount, the bearings slot into the rollers, and the rollers snap onto the base pegs — no screws, no glue, no fuss. Printed in normal PLA, it's strong enough and even designed to print with zero support material.
Here's the real reason this matters: filament is hygroscopic — it loves to suck up moisture from the air. When that wet filament hits your hotend, the absorbed water instantly turns into steam. The result? Bubbling, stringing, inconsistent extrusion, and layers that don't bond properly — weaker prints, even with your best settings.
Clicks together in minutes, holds rock solid
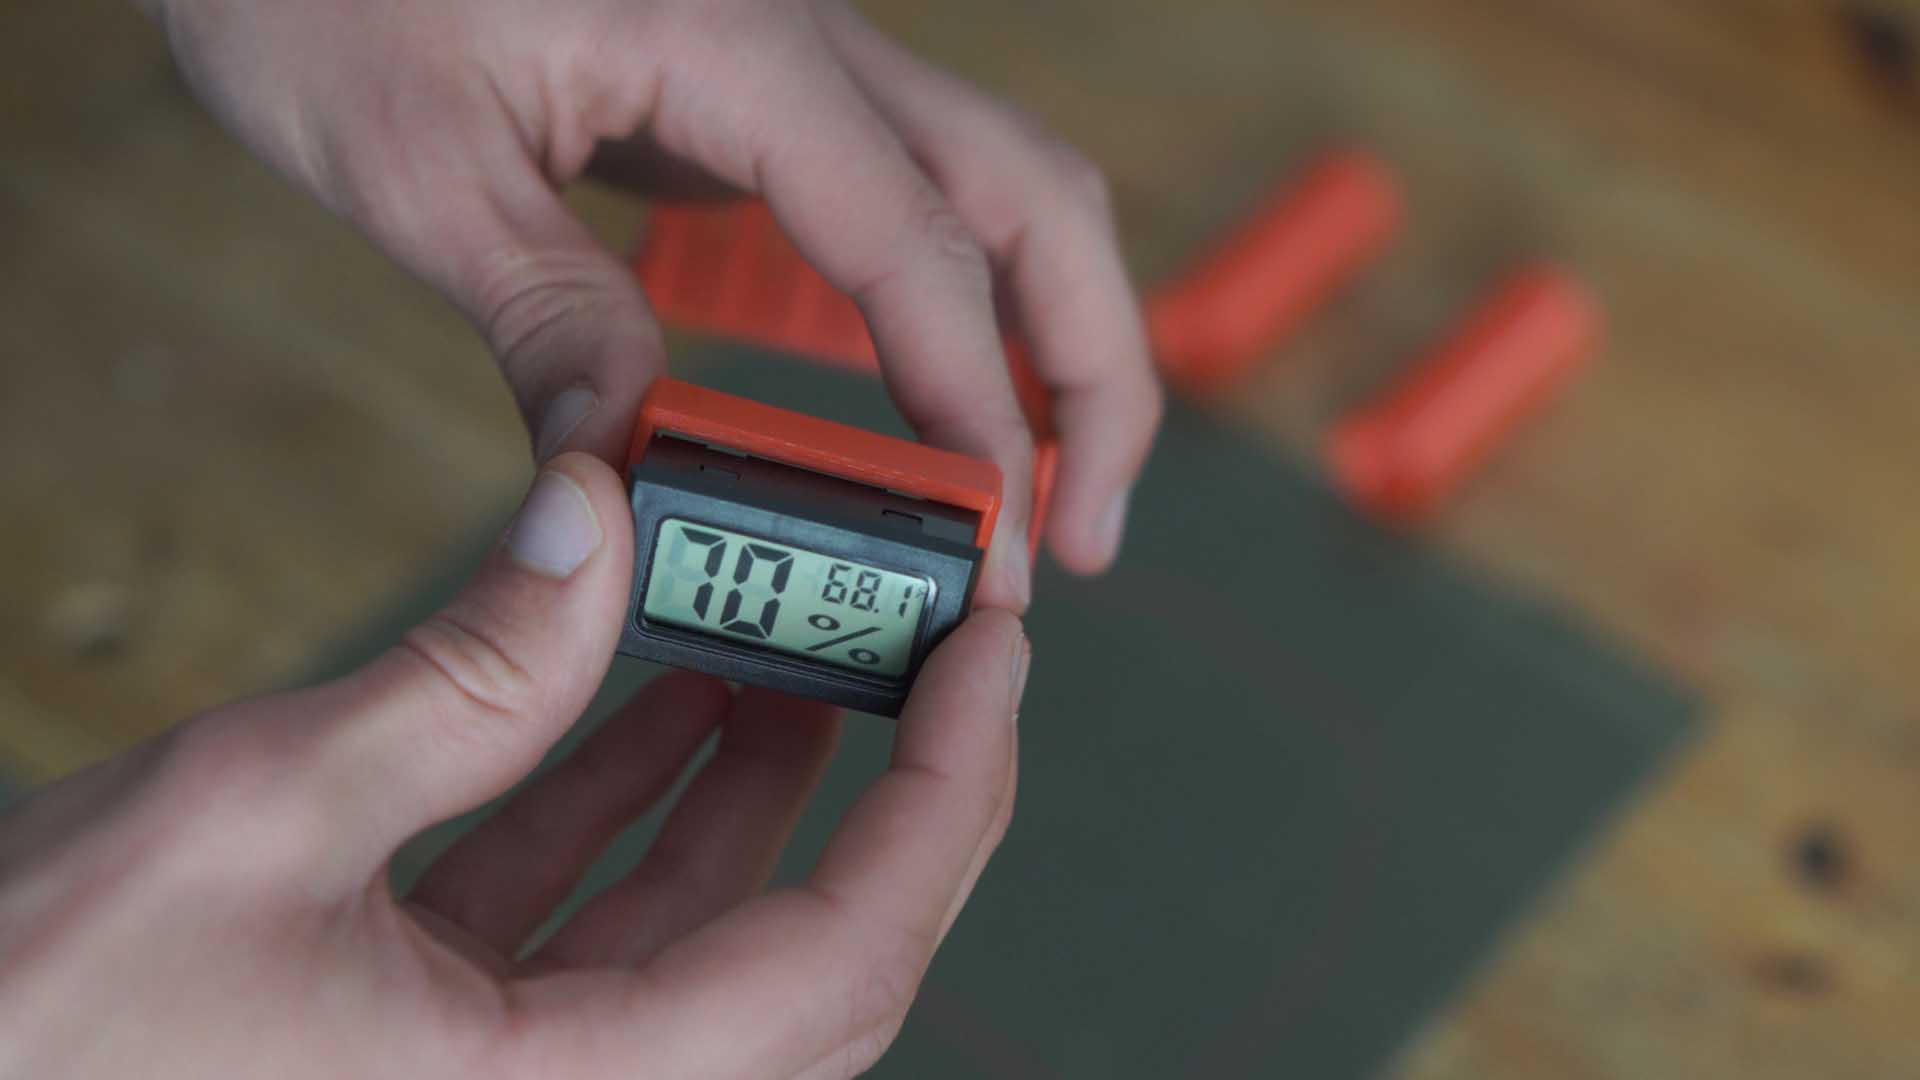
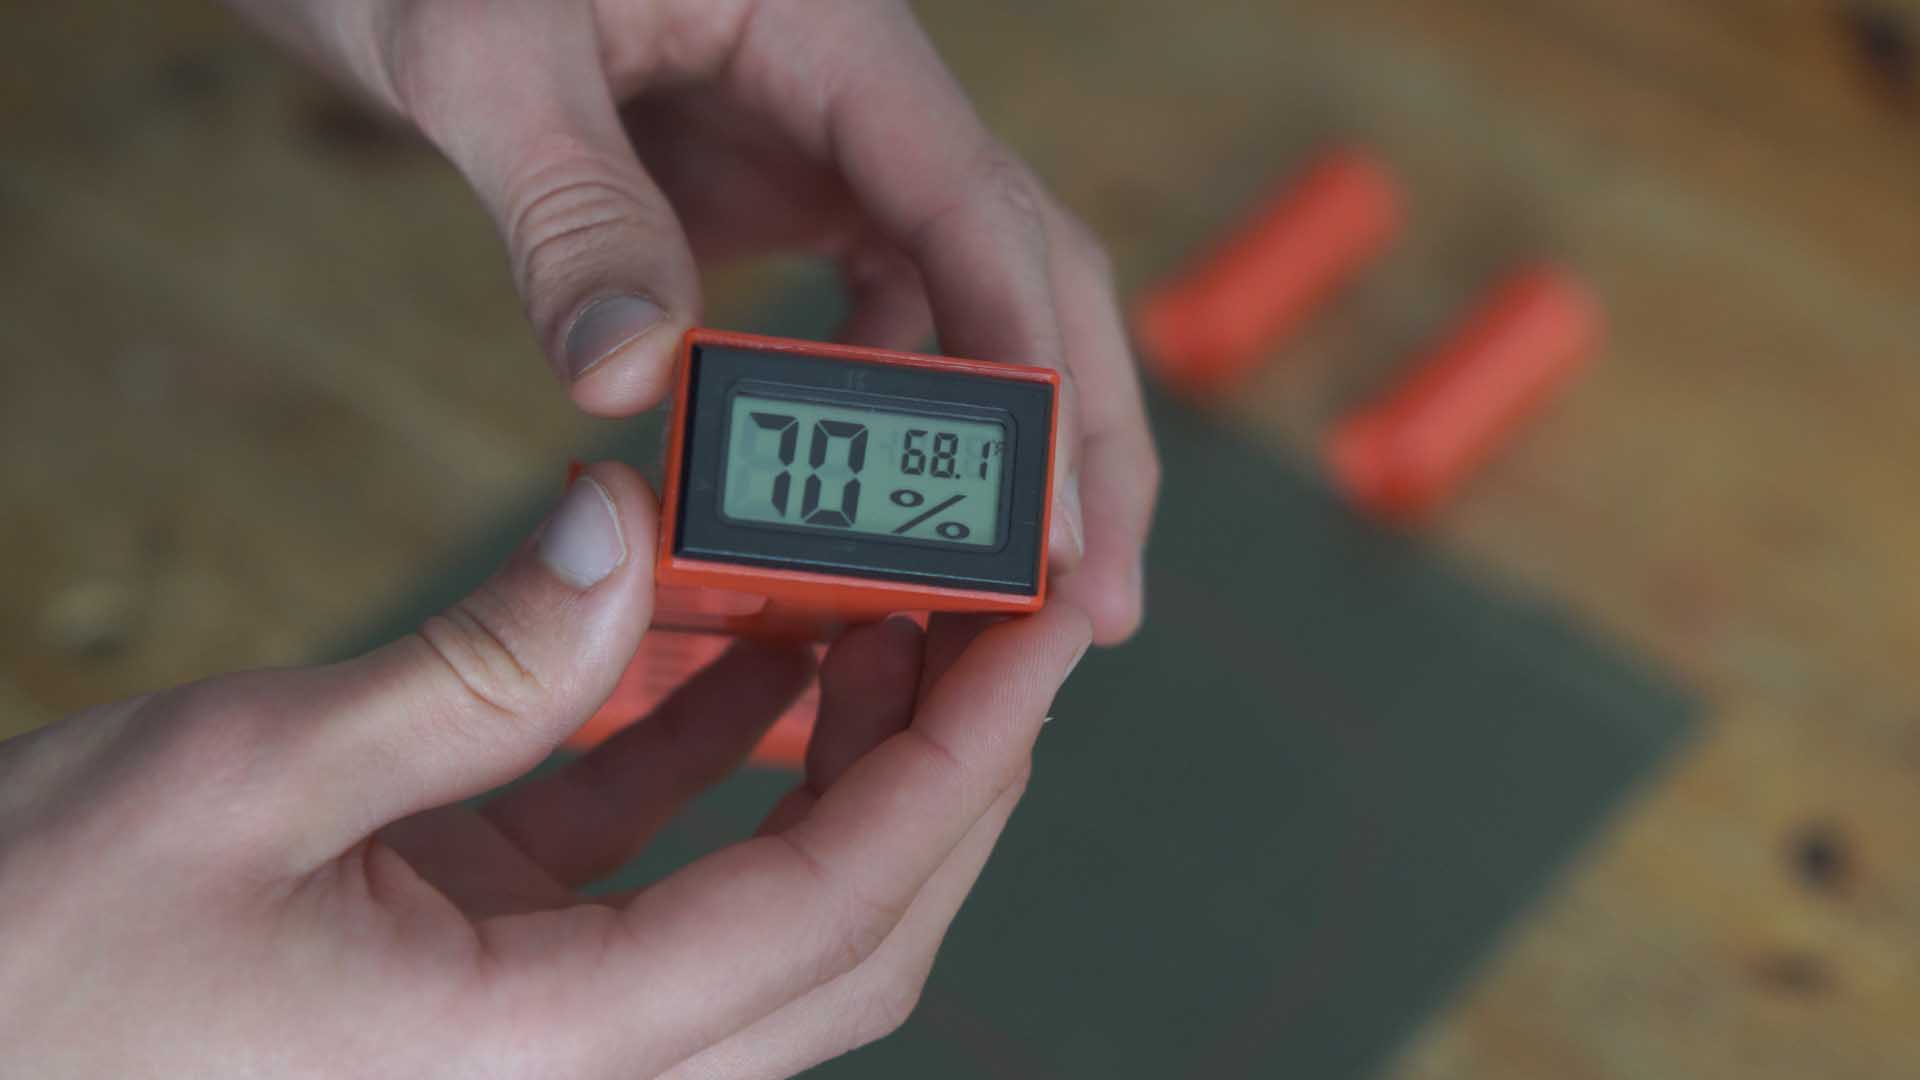
Always know your humidity level at a glance
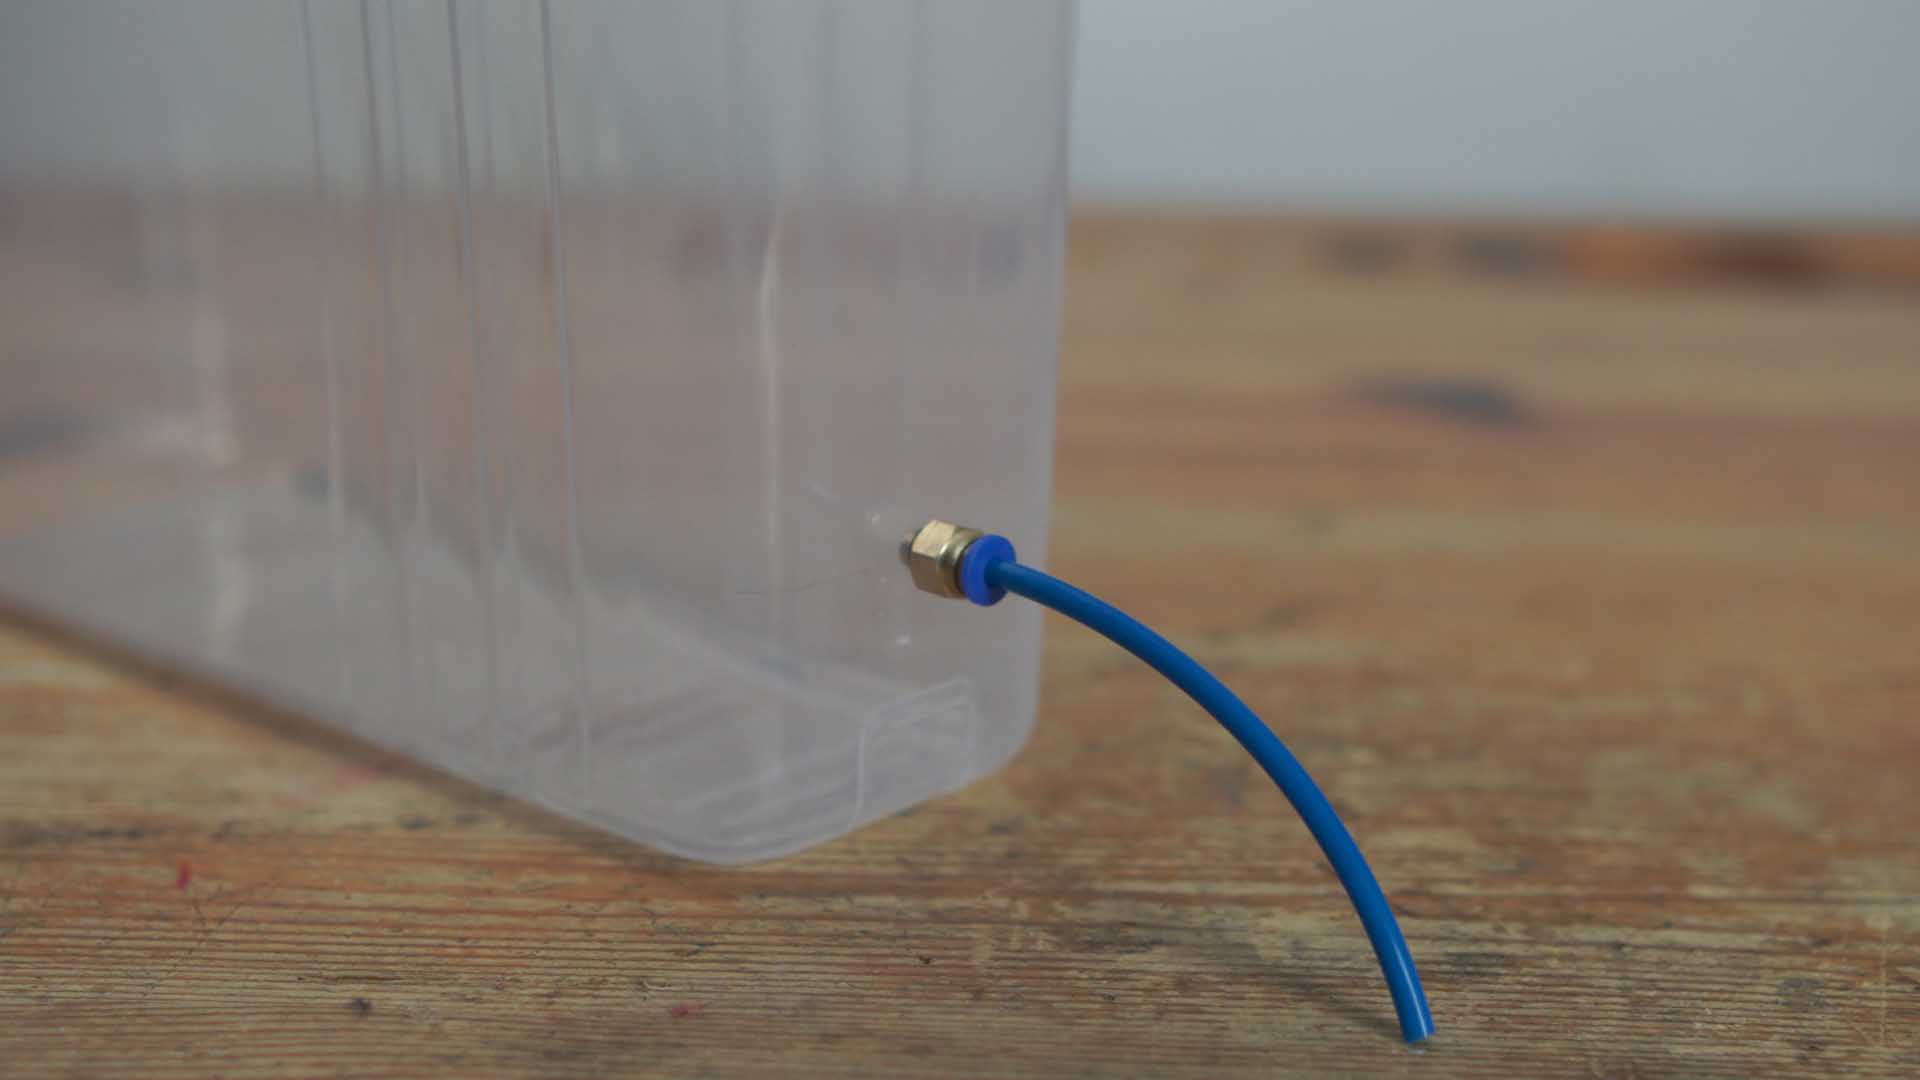
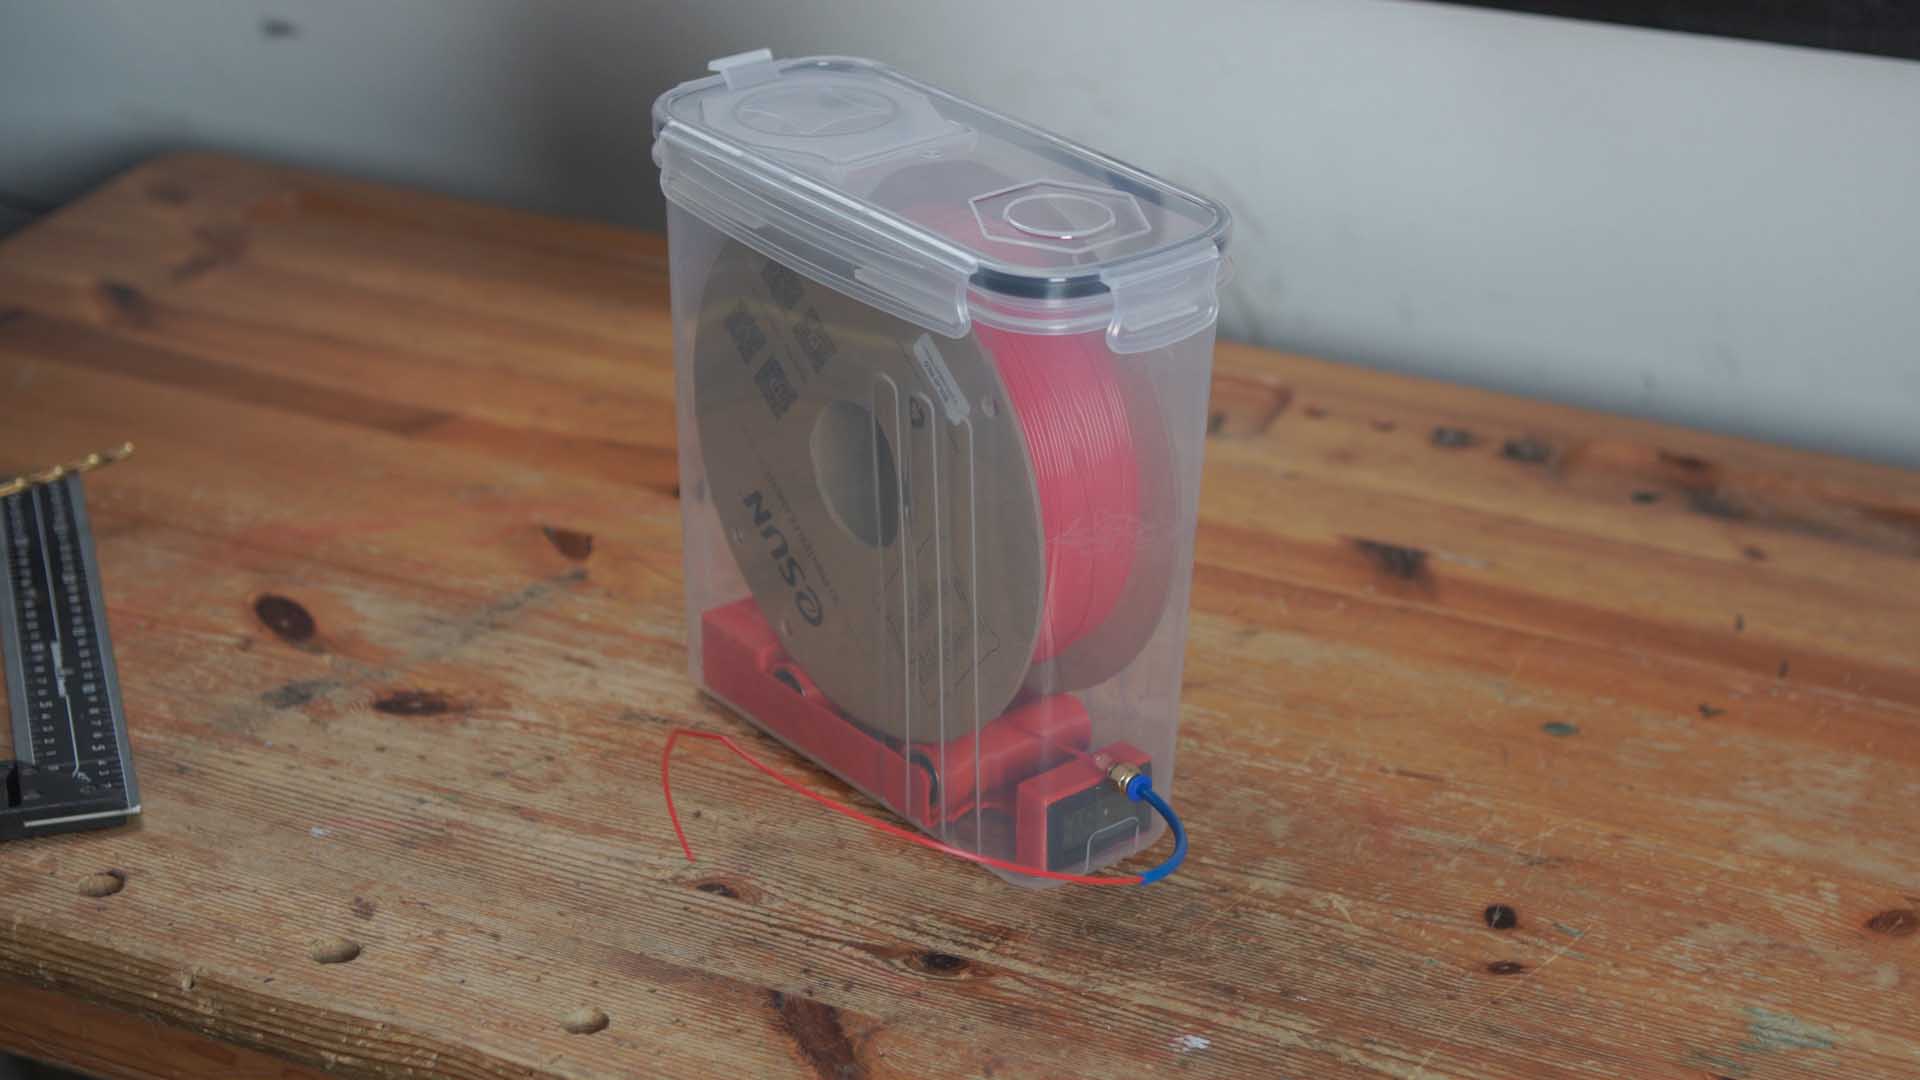
PTFE tube exits through a sealed port – no moisture creep
Designed to print cleanly on any standard FDM printer
Step-by-Step Guide
Quick Build Guide
Based on the official build video. Follow these steps and you'll be done in about 10 minutes.
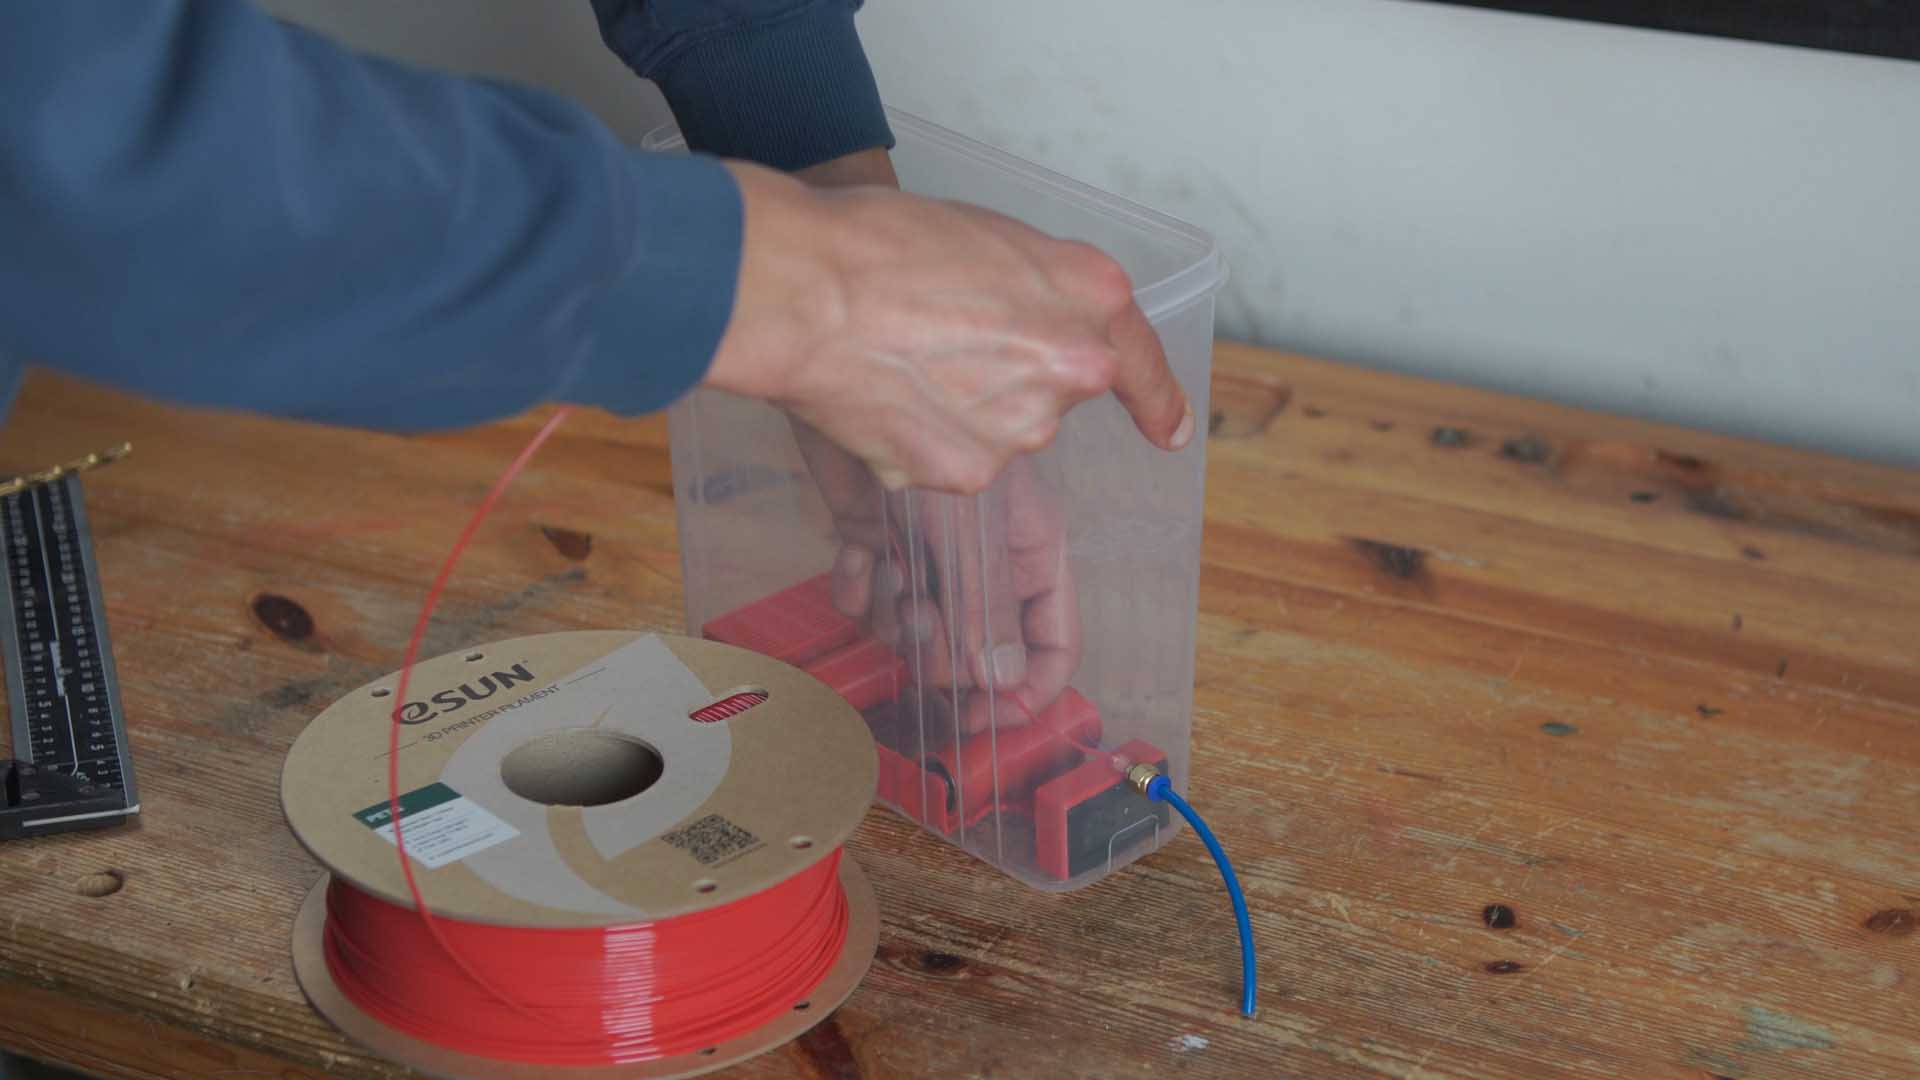
Take the 3D-printed base and simply click the hygrometer into its mount. That's it — no screws required. The snap-fit holds it perfectly in place.
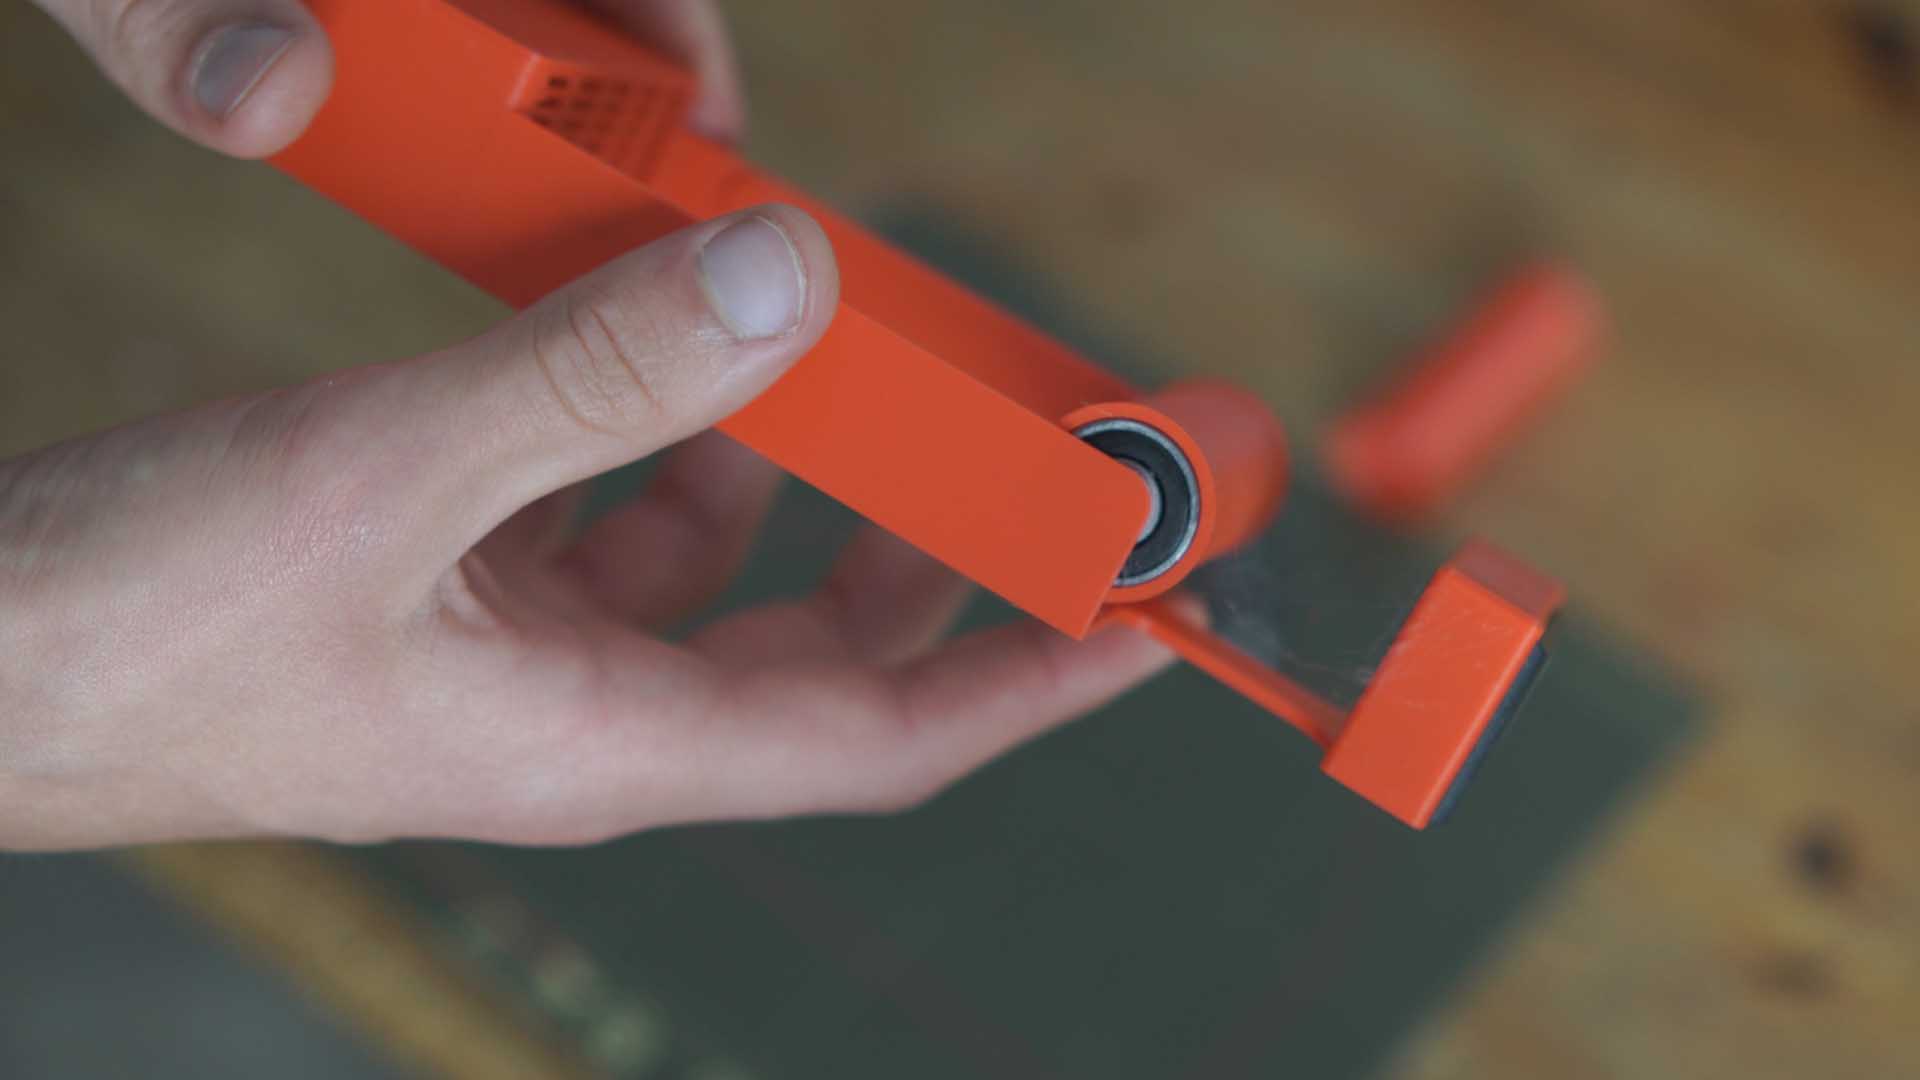
Slot all 4× 608 bearings into the two rollers, then snap the rollers onto the pegs on the base. Give them a spin — they should spin freely and smoothly.
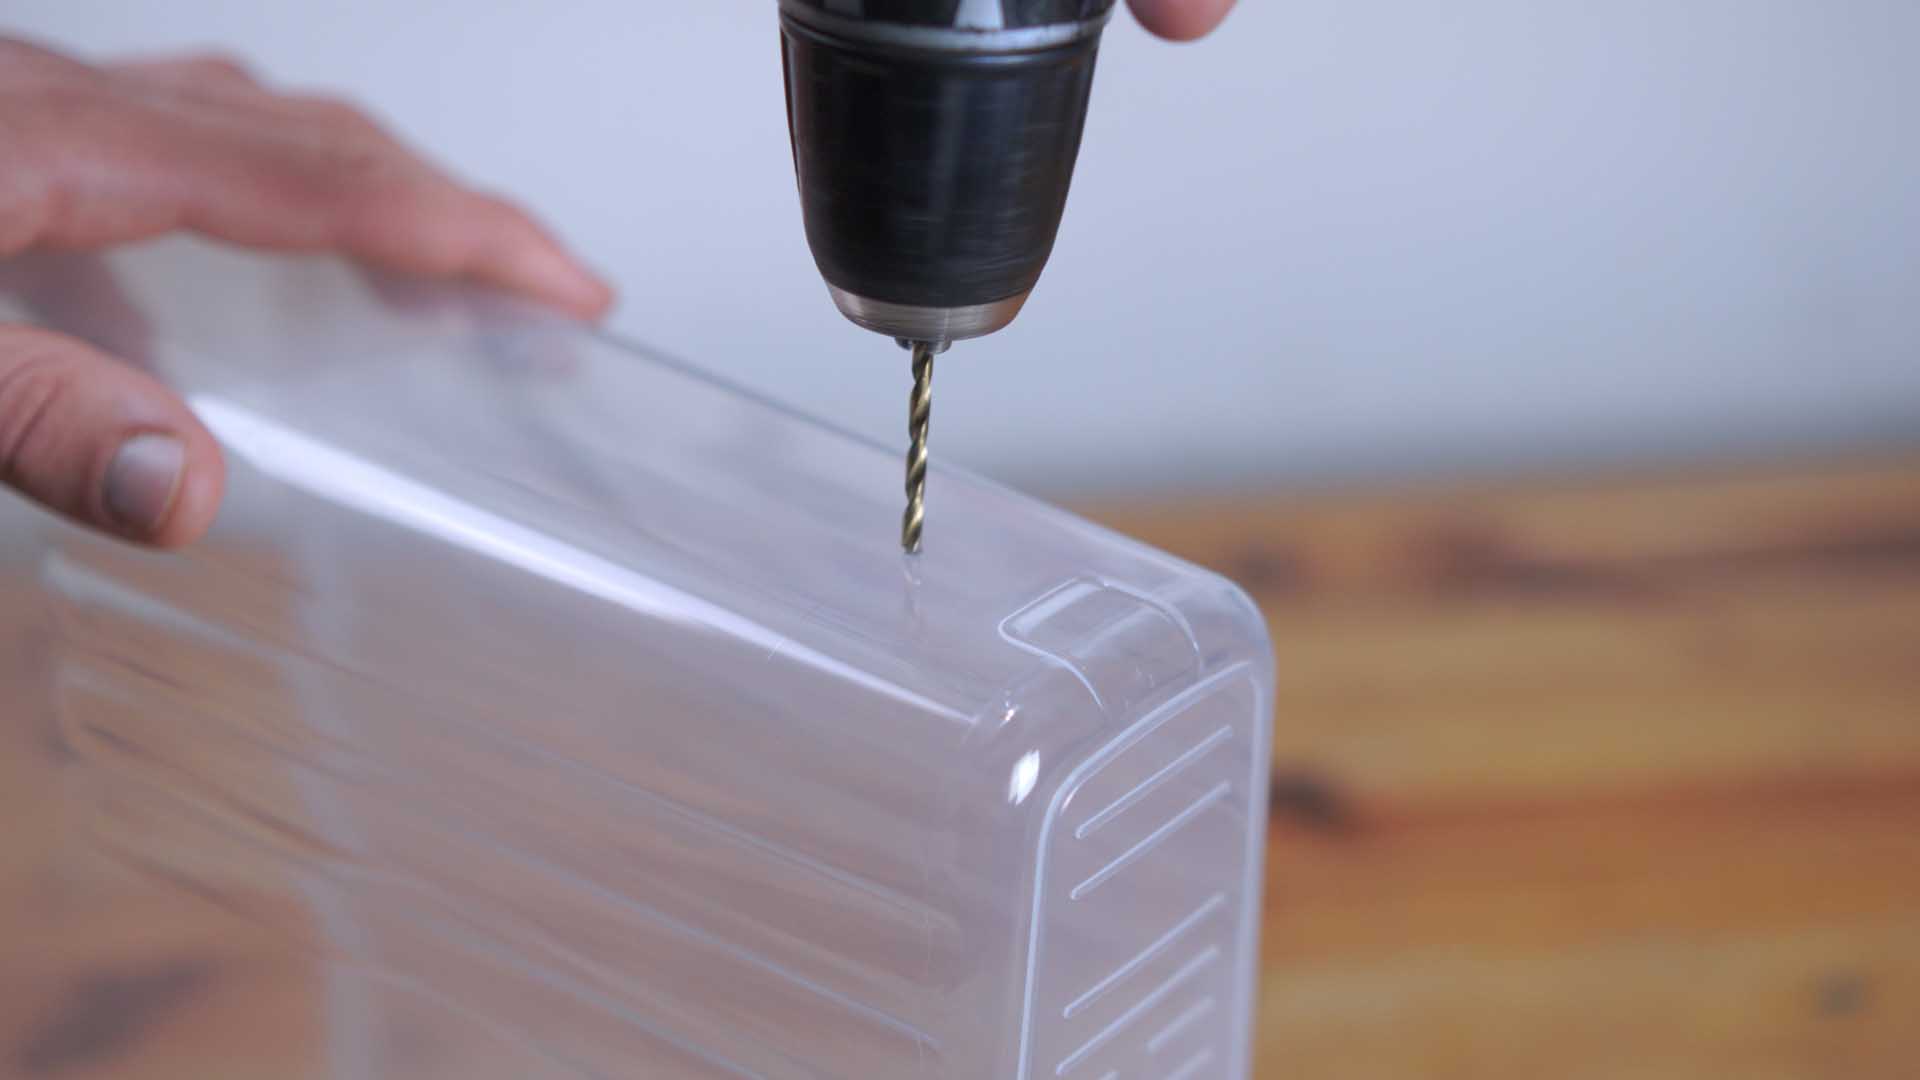
On the thin side of the cereal box, mark a centred spot roughly 5 cm from the bottom. Start with a 2–3 mm bit, step up to 5.5 mm, then hand-thread the PC4-M6 connector in. Insert the PTFE tube.
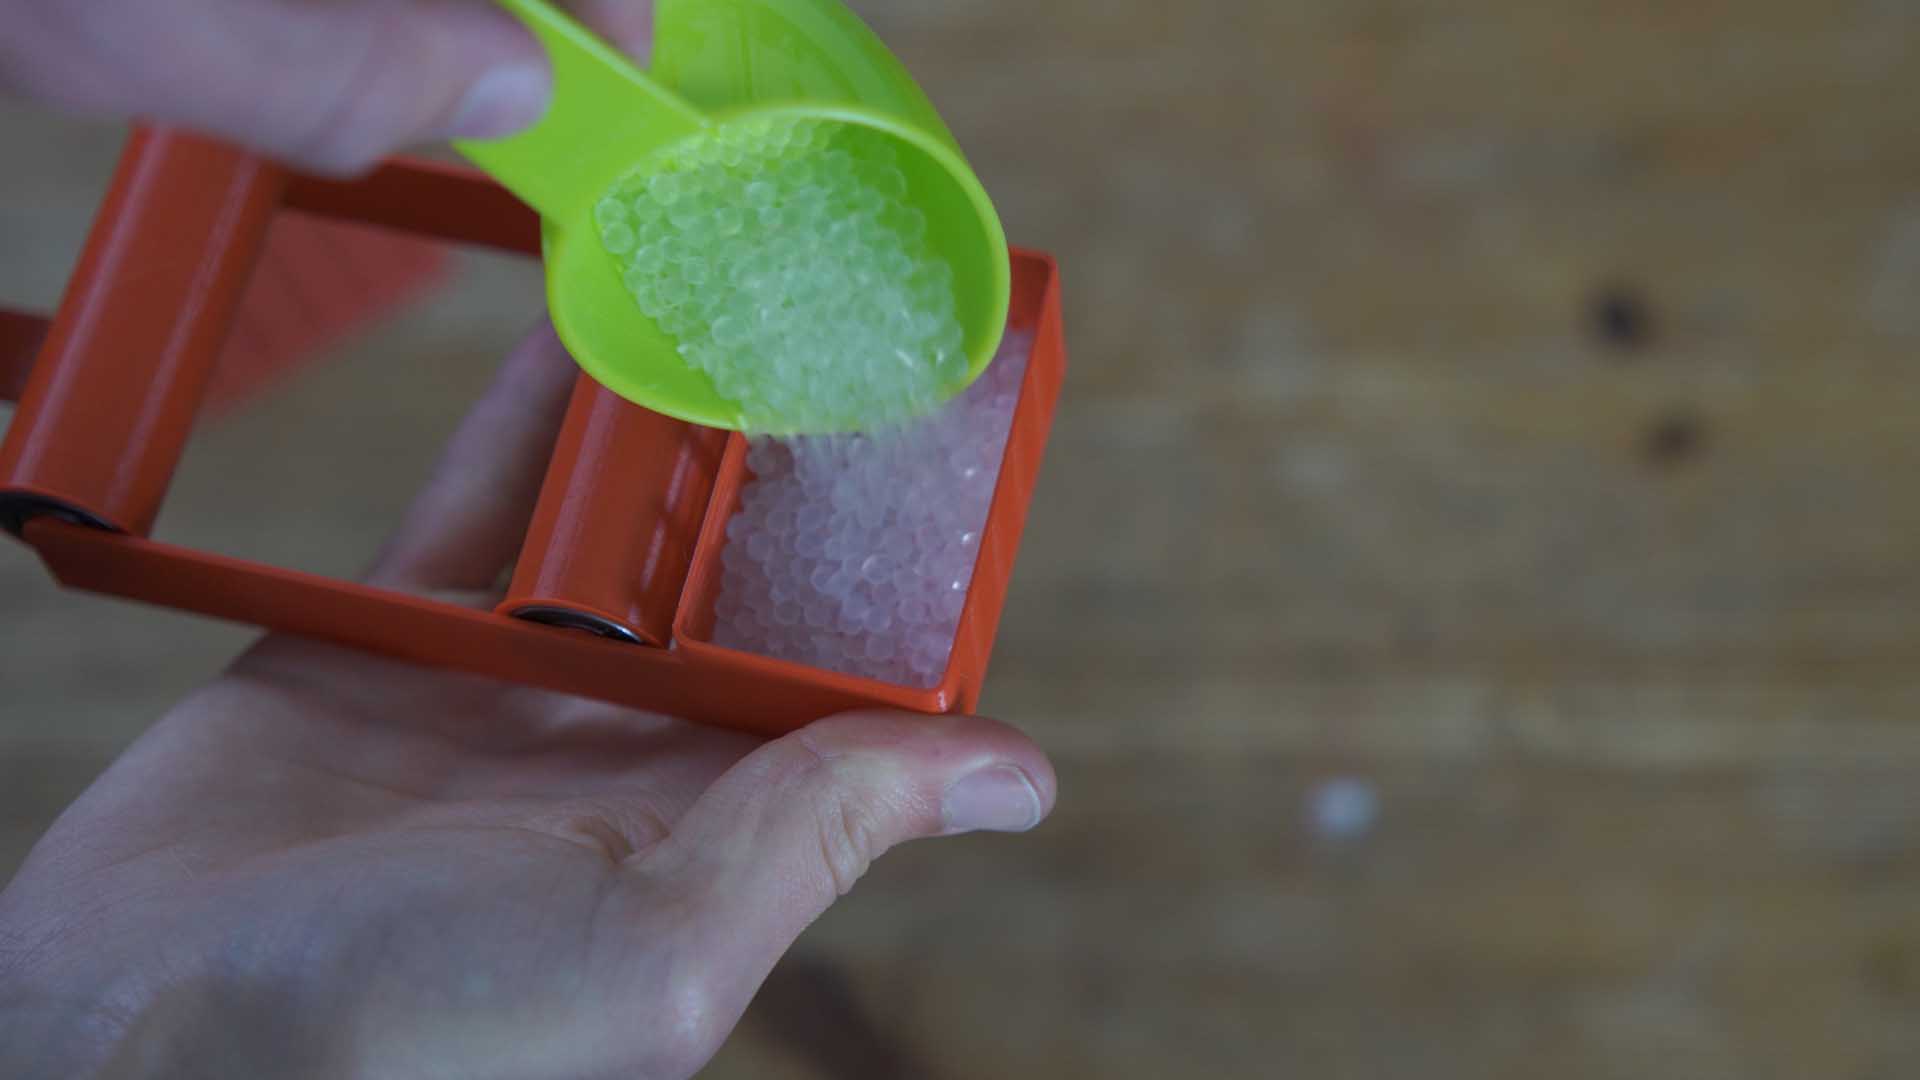
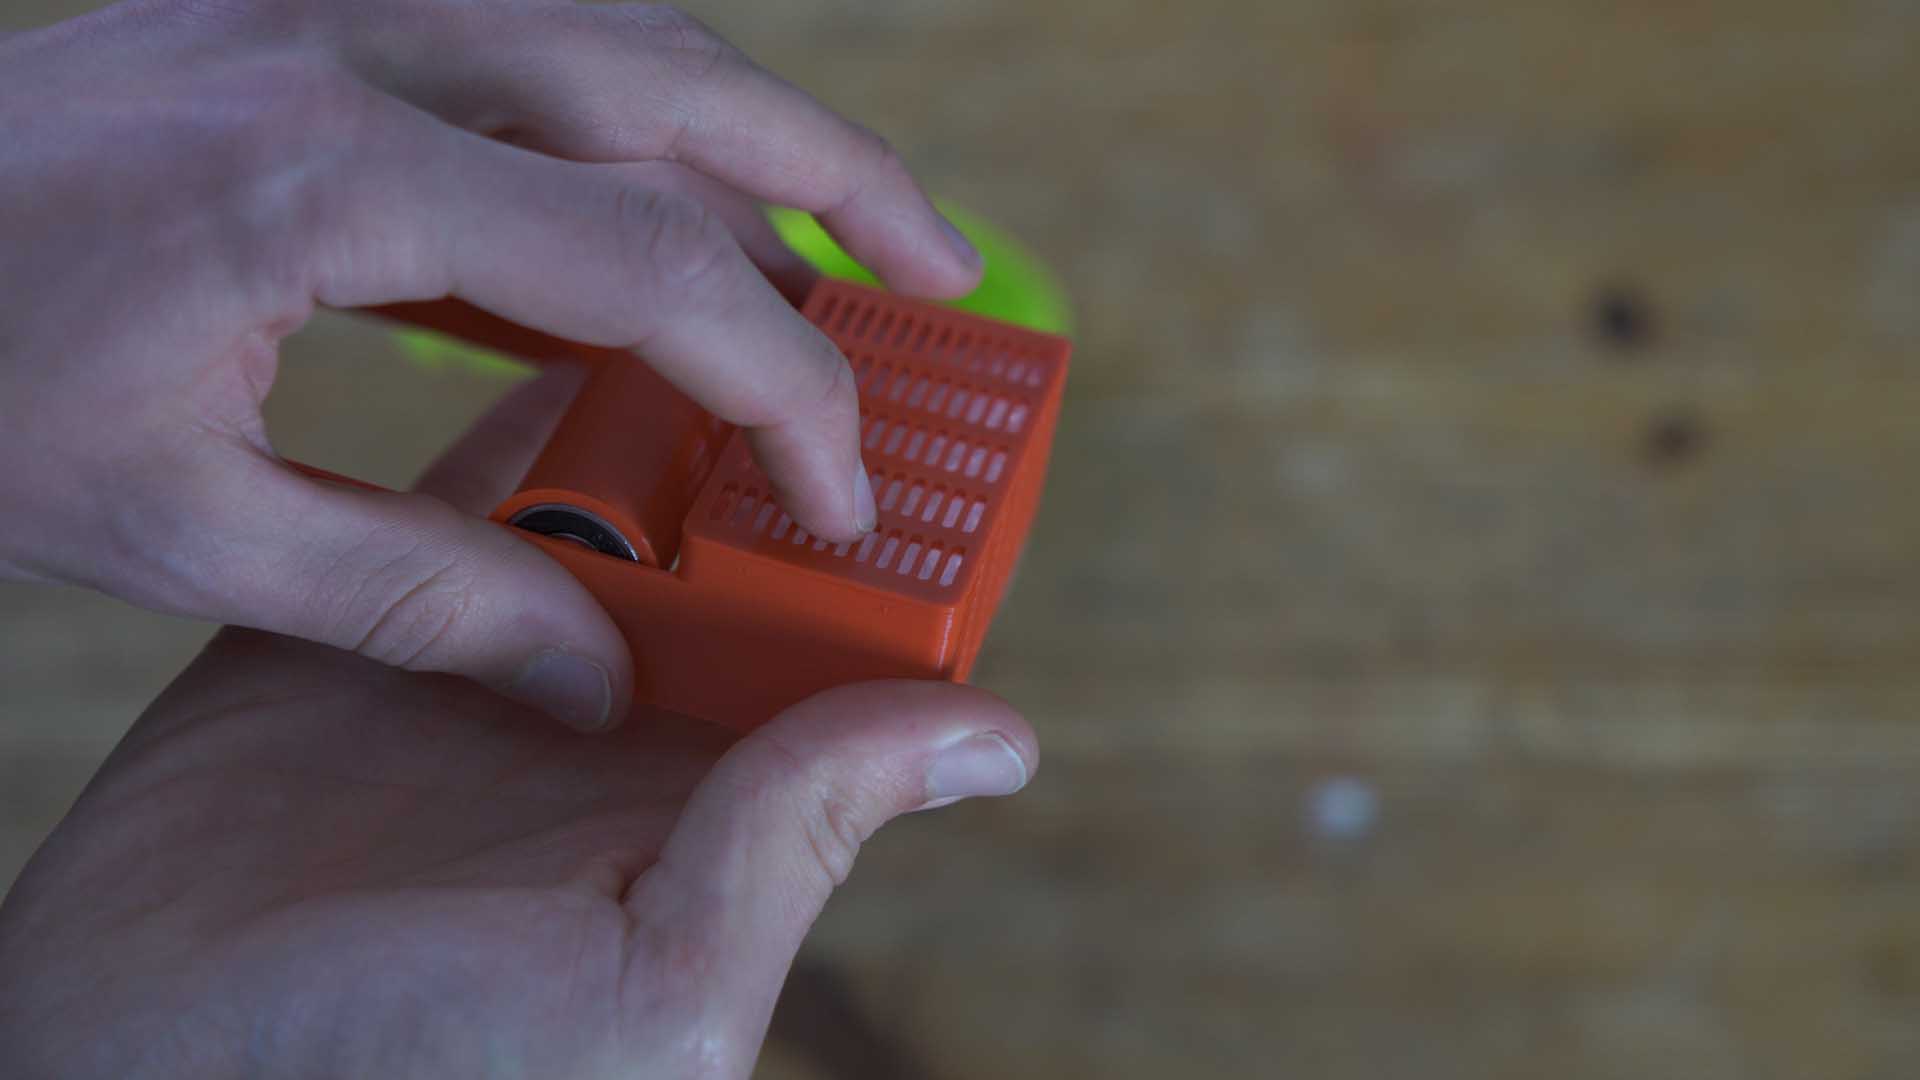
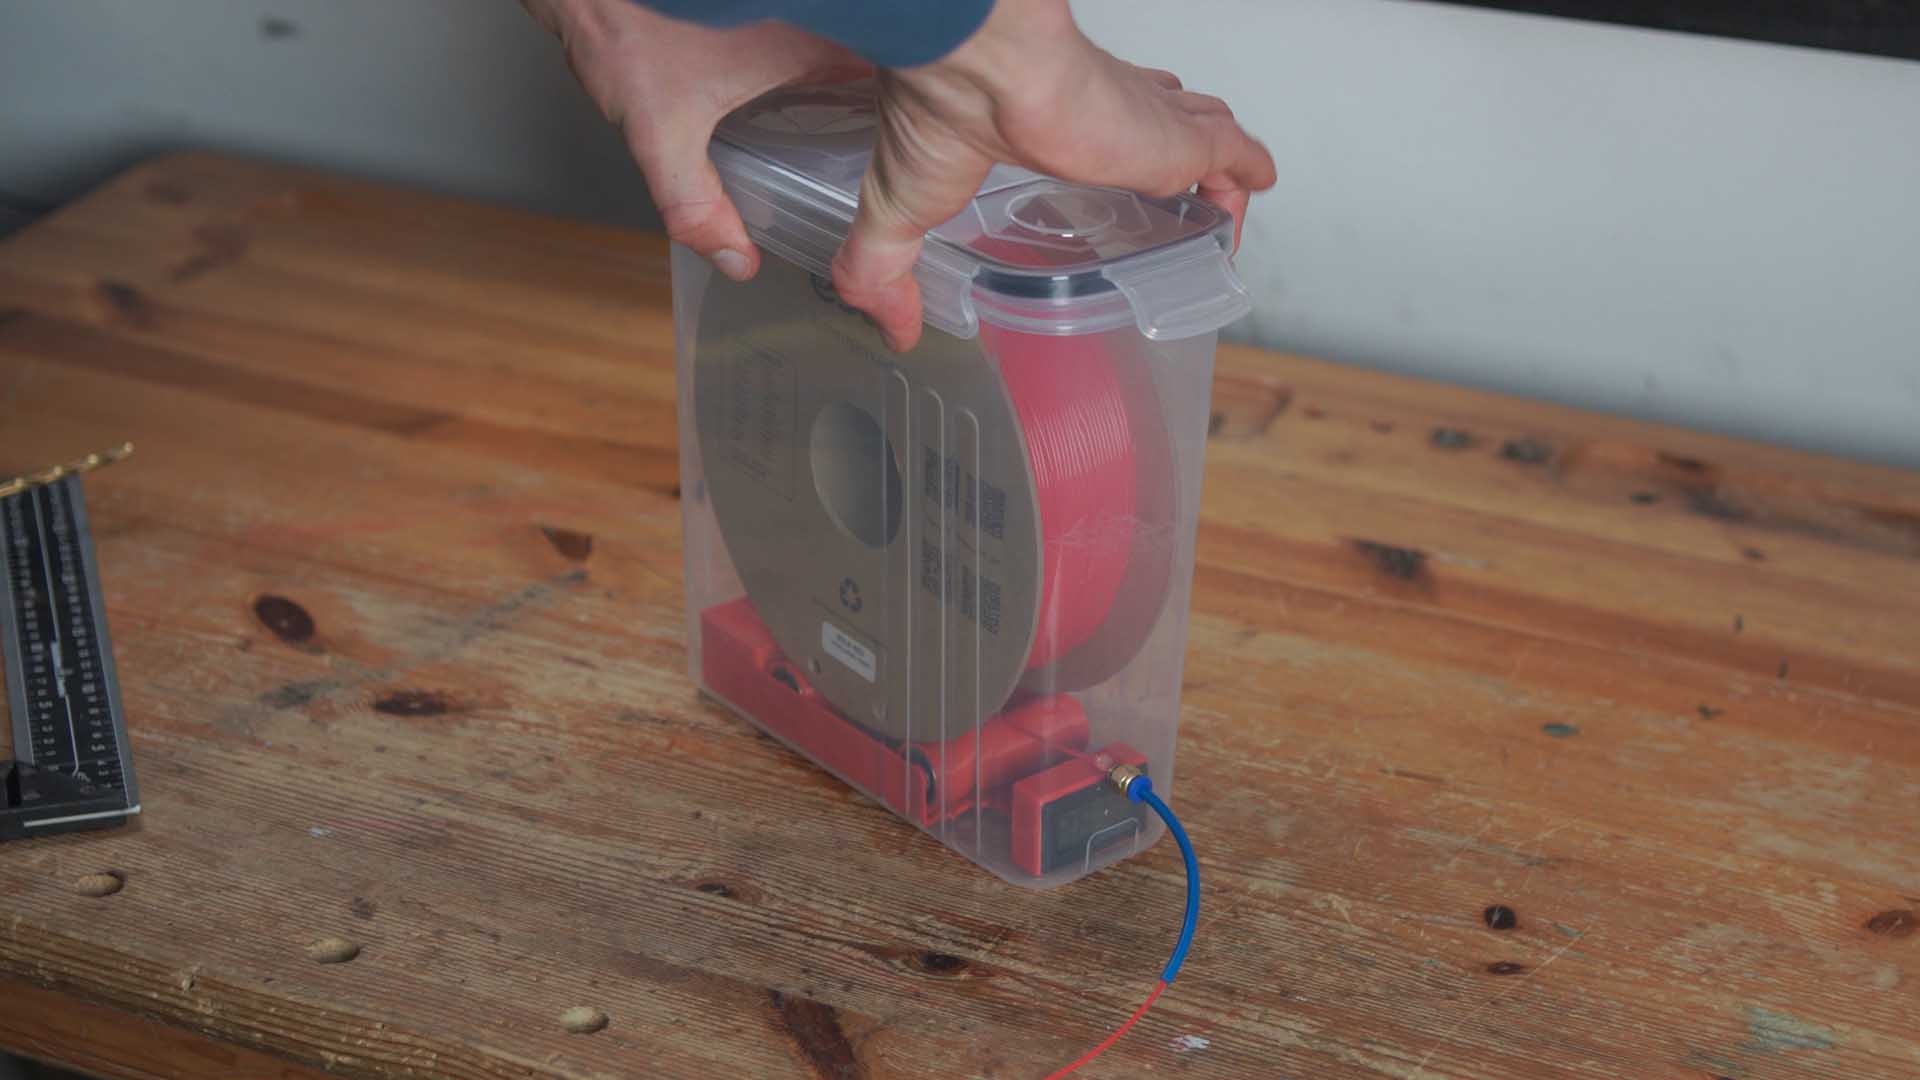
Fill the desiccant container with silica gel beads and snap the lid shut. Place the assembly into the box, thread your filament through the PTFE exit port, and close the lid. Done.
For best results, dry your wet filament on your printer's heat bed for a full day before putting it in the box. The difference in print quality is night and day with the exact same settings.
Maximum filament roll diameter: 200 mm
Maximum filament roll width: 65 mm
Full visual walkthrough in the build video:
youtu.be/teQsyqK07QEWhat You Need
Full sourcing links are in the BOM section below.
Bill of Materials
Parts List & Where to Buy
Components used in my build (or regional equivalents). Marked with * = affiliate link (no extra cost to you).
Primary Project Links
Self-Source the Components
* Affiliate links — no extra cost to you, helps support the channel.